Since we've temporarily moved the conversation from rod building to rod breaking, I'll share something with you that just happened a couple of days ago:
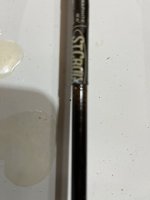
Built this Trout Smiths Heritage Carbon 803-3 out at the beginning of January. Had the opoprtunity to fish it a couple of times . . . just enough to know that it was a fantastic 8' 3WT and that I'd be using it a lot this season. I've been keeping it broken down but lined by the back door so when I felt the urge, I'd assemble it and walk out to the backyard to form a couple of loops.
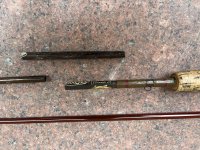
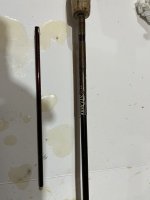
Cleaning lady was here Wednesday running the vacuum. Got a little too close and picked up the leader that was extending out of the tip and loosely coiled on the carpet. When she called me upstairs with apologies became obvious she wrapped the leader and the first 1/2' of fly line around the motor-driven floor brush before taking the tip section in and doing a good wood chipper impression.
View attachment 1641235057
No fixing this one.
I'm still sick about it. I reached out to Steve VanWinkle at Struble who bought the Trout Smiths line off of Shane Gray to see if he had a spare tip laying around he can sell me. If he doesn't, I liked this blank so much, I'll pobably build another one.
I wouldn't have hurt quite as much if a break like this at least happened on the water.
Oh and not to mention it was a WF fly line that needs to be replaced also . . .