DGC
Active member
- Joined
- Jan 21, 2008
- Messages
- 870
Just about every magazine and book insists on photographing flies in front of a blue background, usually clamped in a vise and enlarged so much you can count the specks on a single soft hackle fiber. I am no expert, but I presume doing that involves some fancy/expensive equipment. I also don't really like it that much but that is irrelevant.
For us amateurs with limited means and time, I find a point and shoot camera that has a macro mode is fine for my purposes so long as I do the following:
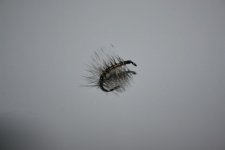
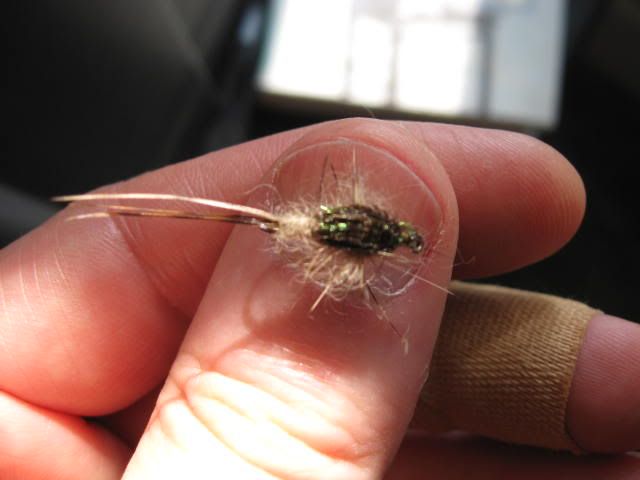
--Avoid using flash. Wait for a time when there is bright, natural sunlight, and position yourself and the fly there. (The first picture below was taken under the round florescent lamp at the tying table, but the room also had lots of natural light. The second picture was simply near a window on a sunny day)
-- Just keep taking shots using macro setting as close as you can until you get one that is close enough yet in focus. Like I tell friends about their Facebook pictures, you can take 301 pictures, keep the only good one, dump the 300 lousy ones, and no one is the wiser. I'm sure most photographers do something similar.
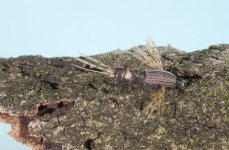
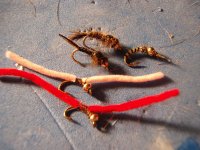
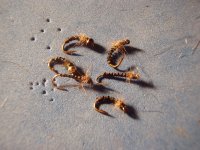
-- For flies I have always thought that a natural color background and a well known item for scale comparison were helpful when it came to duplicating the fly's appearance. I like to use my thumb.
--I tend to use 640 X 480 size since that seems to load fast yet gives a good presentation.
--I also use a free hosting site, in this case photobucket, to save bandwidth.
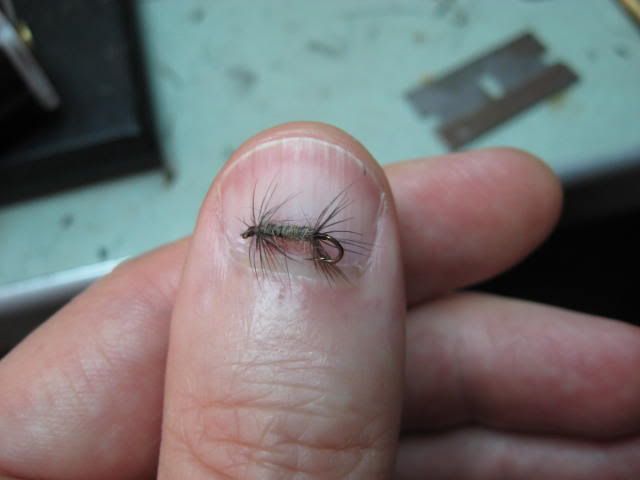
1st, Starling and Dark Hare's Ear Fore and Aft Soft Hackle, # 16, 2XL nymph hook.
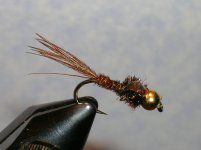
2nd, Experimental Long Tail generic nymph, March Brown type, # 12, 1XL nymph hook.
Camera is Canon A560. If I were buying a camera again, it would be waterproof.
I am not tech savvy in the least, so there are bound to be many ways to get better results.
For us amateurs with limited means and time, I find a point and shoot camera that has a macro mode is fine for my purposes so long as I do the following:
--Avoid using flash. Wait for a time when there is bright, natural sunlight, and position yourself and the fly there. (The first picture below was taken under the round florescent lamp at the tying table, but the room also had lots of natural light. The second picture was simply near a window on a sunny day)
-- Just keep taking shots using macro setting as close as you can until you get one that is close enough yet in focus. Like I tell friends about their Facebook pictures, you can take 301 pictures, keep the only good one, dump the 300 lousy ones, and no one is the wiser. I'm sure most photographers do something similar.
-- For flies I have always thought that a natural color background and a well known item for scale comparison were helpful when it came to duplicating the fly's appearance. I like to use my thumb.
--I tend to use 640 X 480 size since that seems to load fast yet gives a good presentation.
--I also use a free hosting site, in this case photobucket, to save bandwidth.


1st, Starling and Dark Hare's Ear Fore and Aft Soft Hackle, # 16, 2XL nymph hook.
2nd, Experimental Long Tail generic nymph, March Brown type, # 12, 1XL nymph hook.
Camera is Canon A560. If I were buying a camera again, it would be waterproof.
I am not tech savvy in the least, so there are bound to be many ways to get better results.